
As the weather turns colder, there’s nothing more comforting than wrapping your hands around a steaming mug of rich homemade hot chocolate.
This delightful beverage, with its deep cocoa flavors and creamy texture, is the perfect antidote to chilly nights.
I first fell in love with this recipe during a winter retreat in the mountains, where evenings were spent by the fireplace sipping this decadent treat.
The balance of sweet and slightly bitter chocolate creates a satisfying drink that warms you from the inside out.
Whether you’re enjoying a quiet evening alone or sharing with loved ones, this hot chocolate recipe will become a cherished part of your cozy nights.
Indulge in a cup and experience the magic of homemade comfort in every sip.
The History and Cultural Significance
• Rich Homemade Hot Chocolate traces its origins to Mesoamerica, where it was originally created by the Mayans using ground cacao seeds mixed with water, chili peppers, and cornmeal.
• The dish evolved over centuries as sugar, milk, and spices were introduced by the Europeans, eventually becoming the beloved version we know today.
• In Mexico, this dish traditionally appears at festive gatherings and celebrations, symbolizing warmth and hospitality.
• While many variations exist across different regions, the authentic version maintains a rich, velvety texture that sets it apart from imitations.


Recipe Overview
Nutritional Information (per serving)


Essential Equipment Guide
Saucepan: A heavy-bottomed saucepan is essential for even heat distribution, preventing the milk and chocolate from burning. Alternatives include a double boiler if you have one available. Look for a saucepan with a sturdy handle for easy pouring.
Whisk: A whisk is crucial for achieving a smooth, lump-free texture. A balloon whisk is ideal, but a fork can work in a pinch. Ensure your whisk is stainless steel for durability and ease of cleaning.
Ladle: A ladle helps serve hot chocolate cleanly and efficiently. While a measuring cup can substitute, a ladle with a pouring spout is best for controlling the flow.


Ingredients
For the Base
|
| Amount | Ingredient | Notes |
|---|---|---|
| 3 cups | whole milk | for creaminess and richness |
| 1 cup | heavy cream | adds luxurious texture |
| 1 cup | dark chocolate chips | for deep chocolate flavor |
| 1/4 cup | granulated sugar | balances bitterness |
| 1 teaspoon | vanilla extract | for aromatic sweetness |


Preparation Methods
Tempering: Tempering the chocolate ensures it melts smoothly without seizing. Begin by slowly melting chocolate chips over low heat, stirring constantly. This technique prevents the chocolate from overheating, which can cause it to become grainy.
Frothing: Frothing the mixture creates a light, airy texture. Use a whisk to vigorously stir the hot chocolate, incorporating air. This technique enhances the mouthfeel, making the drink more velvety.
Infusion: Infusing the milk and cream with vanilla adds depth of flavor. Heat the milk and cream with vanilla extract over low heat, allowing the flavors to meld. Be sure to stir frequently to avoid scalding.


Step 1: Prepare Ingredients
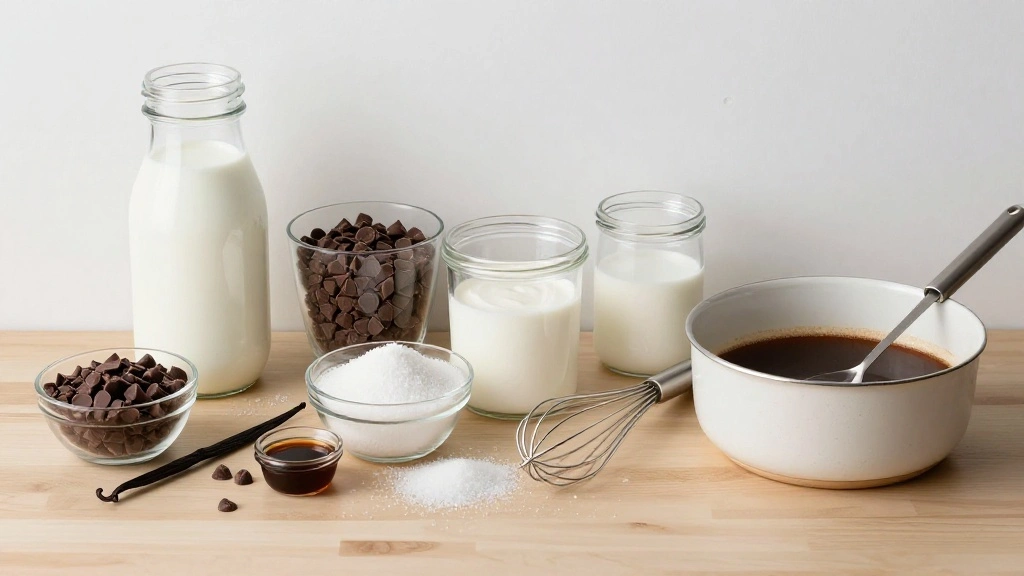
Measure out all your ingredients before starting the cooking process.
Ensure chocolate chips are at room temperature for even melting.
Double-check that all equipment is clean and ready to use.
Gather all utensils and place them within easy reach.
Step 2: Heat Milk and Cream
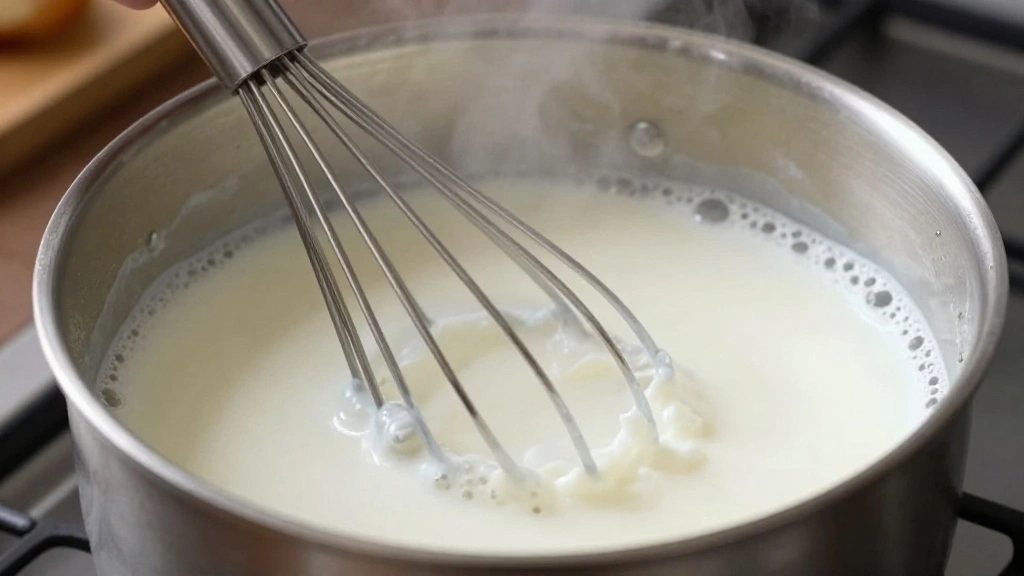
Pour whole milk and heavy cream into a heavy-bottomed saucepan.
Place the saucepan over medium heat and begin warming the mixture.
Stir occasionally with a whisk to prevent the milk from scalding.
Look for small bubbles forming around the edges as an indicator of readiness.
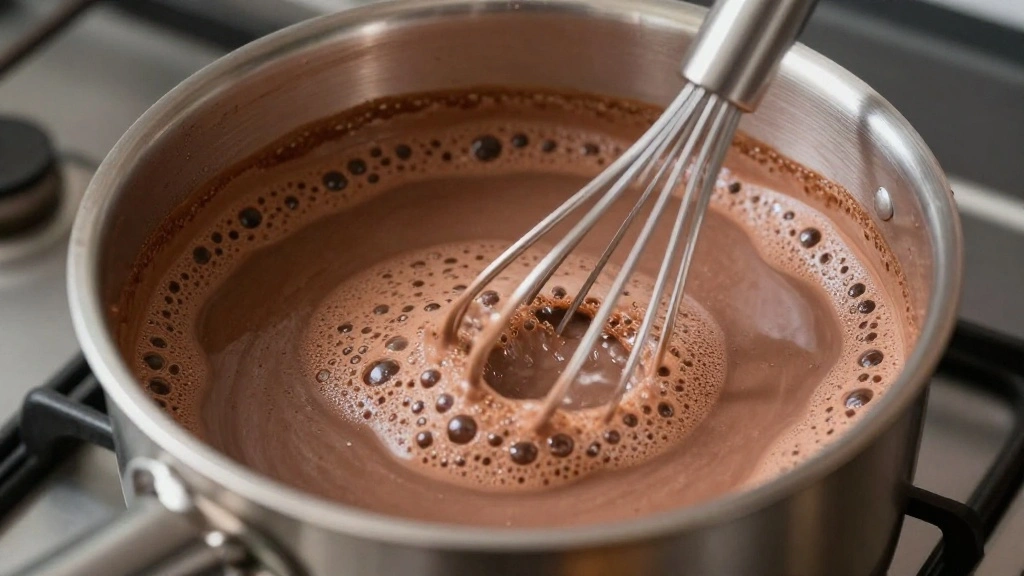
Step 3: Add Chocolate and Sugar
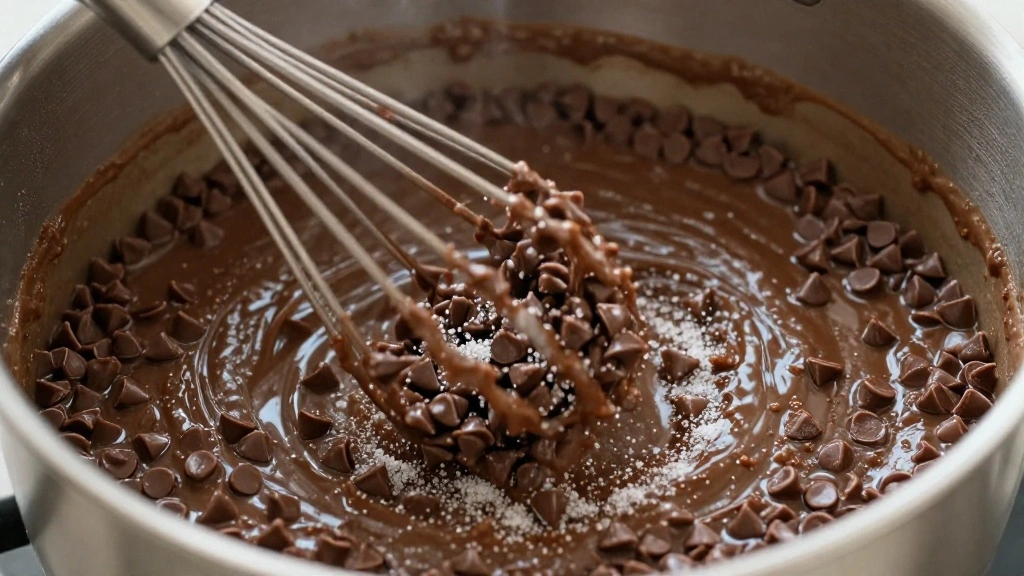
Once the milk and cream are heated, add in the dark chocolate chips.
Sprinkle in the granulated sugar for sweetness.
Use a whisk to continuously stir the mixture as the chocolate melts.
Ensure the chocolate is fully melted and the mixture is smooth.
Step 4: Infuse with Vanilla
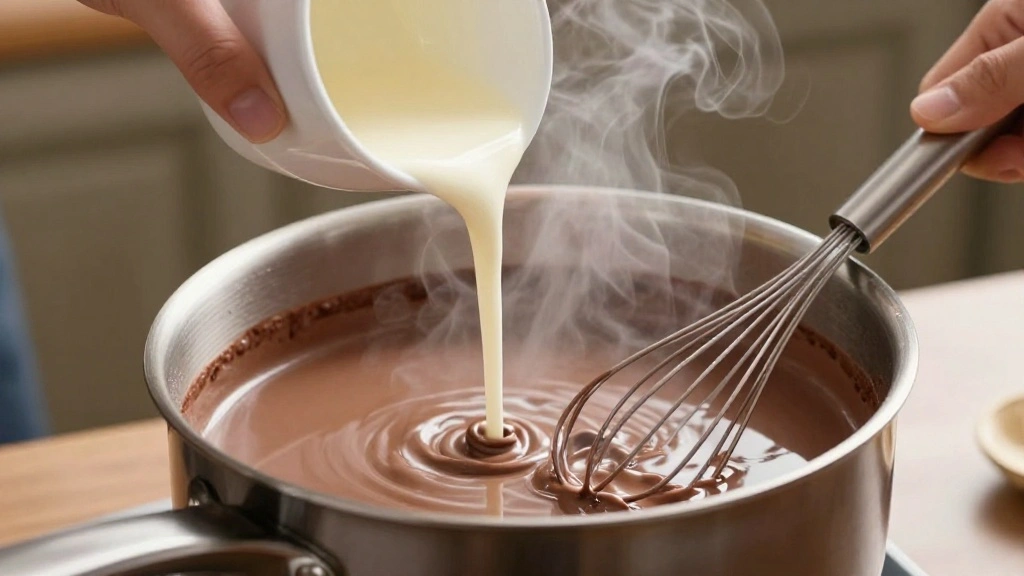
Remove the saucepan from heat once the chocolate is fully melted.
Add vanilla extract to the hot chocolate mixture.
Stir gently to incorporate the vanilla throughout the liquid.
Take a moment to enjoy the aromatic scent as it infuses.
Step 5: Froth the Mixture
Return the saucepan to low heat and begin frothing the hot chocolate.
Vigorously whisk the mixture to incorporate air and create a frothy texture.
Look for bubbles forming on the surface as a sign of successful frothing.
Continue whisking until the desired consistency is achieved.
Step 6: Taste and Adjust Sweetness
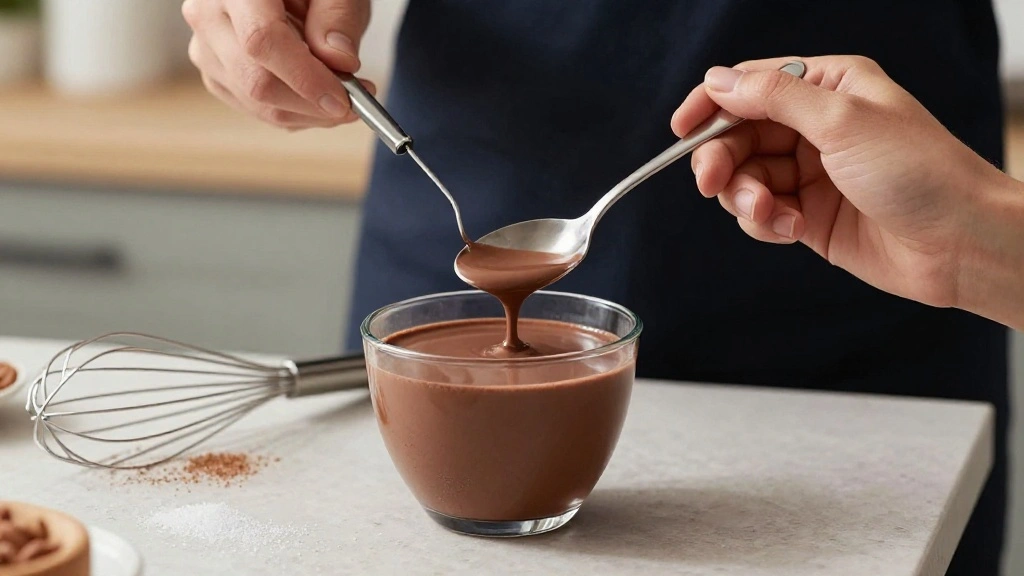
Carefully taste the hot chocolate to assess the sweetness level.
If necessary, add more sugar to suit your personal preference.
Stir the mixture thoroughly to dissolve any additional sugar.
Ensure the sweetness is balanced with the chocolate flavor.
Step 7: Serve Hot Chocolate
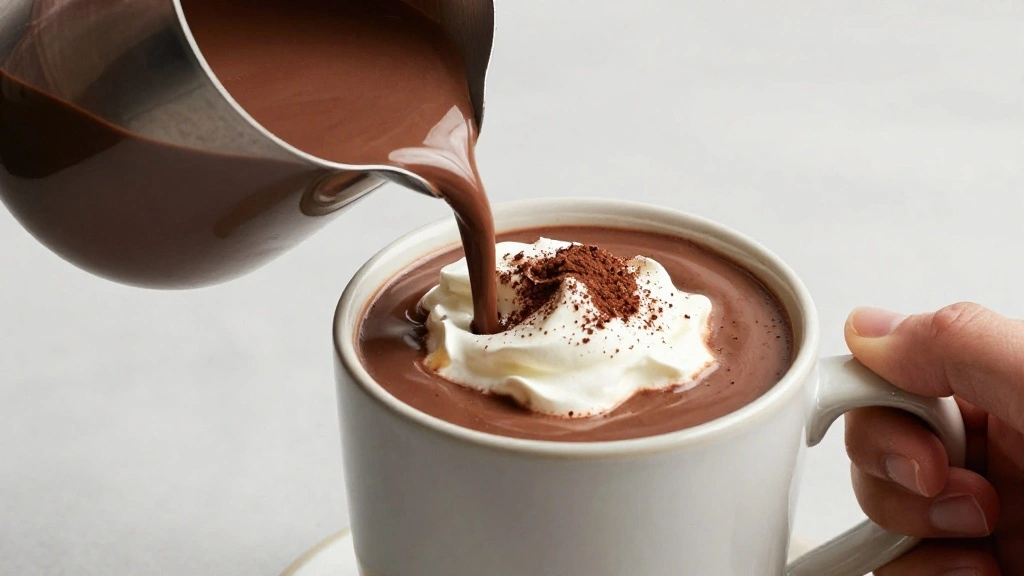
Use a ladle to pour the hot chocolate into mugs.
Aim for even distribution among all servings.
Take care to avoid spills by pouring slowly and steadily.
Garnish with your choice of toppings, such as whipped cream or marshmallows.
Step 8: Enjoy Your Creation

Find a comfortable spot to enjoy your homemade hot chocolate.
Savor the rich, creamy texture and deep chocolate flavor.
Consider pairing with a cozy blanket or a good book for a perfect evening.
Share with friends or family to spread the warmth and joy.
Critical Timing and Temperature Guide
Heating Milk and Cream: Heat over medium heat until small bubbles form around the edges, indicating readiness. Avoid boiling to prevent scorching.
Melting Chocolate: Maintain low heat to ensure smooth melting without graininess. Stir constantly to distribute heat evenly.
Frothing: Froth over low heat for about 3 minutes until bubbles form on the surface. Avoid overheating, which can reduce frothiness.
Pro Tips for Rich Homemade Hot Chocolate
• Ingredient Selection: Choose high-quality dark chocolate with at least 70% cocoa content for the best flavor.
• Preparation Secret: A pinch of salt can enhance the chocolate flavor and balance sweetness.
• Temperature Management: Ensure milk is warm, not hot, before adding chocolate to prevent seizing.
• Texture Enhancement: Whisk vigorously to incorporate air for a creamy, frothy finish.
• Flavor Layering: Add a cinnamon stick to the milk while heating for a subtle spice infusion.
• Make-Ahead Strategies: Prepare the hot chocolate base in advance and store in the fridge for up to two days. Reheat gently before serving.
• Restaurant-Quality Finishing Touches: Top with freshly whipped cream and a sprinkle of shaved chocolate for a professional touch.
• Equipment Optimization: Use an immersion blender for frothing if available, creating a smoother texture.


Troubleshooting Common Issues
• Chocolate Seizing: Occurs when chocolate is exposed to high heat. Ensure low, even heat is used and stir constantly to prevent seizing.
• Grainy Texture: Often results from overheating. Maintain a gentle heat and whisk continuously for smooth results.
• Overly Sweet: Adjust by adding a bit more milk to dilute sweetness without losing creaminess.
• Lack of Froth: Ensure vigorous whisking is performed; consider using an immersion blender for better frothing.
• Burnt Milk: Avoid by stirring regularly and keeping heat at medium-low. Discard and start fresh if burnt.
• Flavor Imbalance: If flavors are muted, add a small pinch of salt to enhance chocolate notes.


Variations and Regional Differences
• Mexican Hot Chocolate: Includes cinnamon and cayenne pepper for a spicy kick, often served with churros.
• French Chocolat Chaud: Uses richer, thicker chocolate and is often served in small cups for an intense experience.
• Italian Cioccolata Calda: Thickened with cornstarch for a pudding-like consistency that's traditionally enjoyed with a spoon.
• American Style: Typically uses milk chocolate and is sweeter, often topped with marshmallows.

Food Science Behind the Recipe
• Emulsification: The combination of fat in cream and chocolate creates a smooth, cohesive texture through emulsification.
• Maillard Reaction: Though mild in liquid form, heating milk sugars with chocolate can enhance flavor complexity.
• Heat Transfer: Even heat distribution in a heavy-bottomed pan prevents localized scorching, ensuring uniform cooking.


Frequently Asked Questions
What's the most common mistake people make when preparing hot chocolate? Overheating the milk and chocolate, leading to a grainy texture. Maintain a gentle heat and stir constantly.
Can I use milk alternatives? Yes, options like almond or oat milk can be used, though they may alter the flavor and texture slightly.
How can I make it less sweet? Reduce the amount of sugar or choose a chocolate with a higher cocoa content for a more bitter profile.
Is there a way to make it thicker? Yes, adding a bit of cornstarch slurry can thicken the mixture to a desired consistency.
Can I add flavors? Absolutely, spices like cinnamon or extracts like almond can add unique flavors.
What if I don't have a whisk? Use a fork for stirring or an immersion blender for frothing.
How do I store leftovers? Store in an airtight container in the fridge for up to two days. Reheat gently on the stove.
Serving and Presentation Guide
• Traditional Presentation: Serve in a ceramic mug with a handle, topped with whipped cream and a sprinkle of cocoa powder.
• Gourmet Experience: Use glass mugs to showcase the frothy texture, garnished with a cinnamon stick.
• Casual Setting: Offer in large mugs with marshmallows and a side of biscotti for dipping.
• Festive Touch: Add a candy cane stirrer for a holiday twist, served on a decorated tray.


Conclusion
Rich homemade hot chocolate is more than just a drink; it's a warm embrace on a cold night.
This recipe offers a perfect balance of deep chocolate and creamy richness that will delight your senses.
Experiment with different flavors and presentations to make it uniquely yours.
Enjoy the comfort and joy that comes with every sip of this classic beverage.