


There’s something magical about making your own ice cream at home, especially when you don’t need an ice cream maker.
The creamy, rich texture and customizable flavors make this dessert a delightful treat for any occasion.
I first stumbled upon this recipe during a hot summer day when I craved a cool, sweet indulgence but lacked the fancy equipment.
The result was a revelation: silky smooth ice cream that rivals any store-bought brand.
Whether you’re a seasoned cook or a kitchen novice, this no-churn ice cream is a simple yet impressive treat to master.
Prepare to wow your friends and family with your homemade creation.
The History and Cultural Significance
• Ice Cream traces its origins to ancient China, where it was originally created by combining snow with rice and milk.
• The dish evolved over decades as new techniques and ingredients, like cream and sugar, were introduced, eventually becoming the beloved version we know today.
• In many cultures, ice cream traditionally appears at celebrations and gatherings, symbolizing joy and indulgence.
• While many variations exist across different regions, the authentic version maintains a creamy texture and rich flavor that sets it apart from imitations.


Recipe Overview
Nutritional Information (per serving)
Essential Equipment Guide
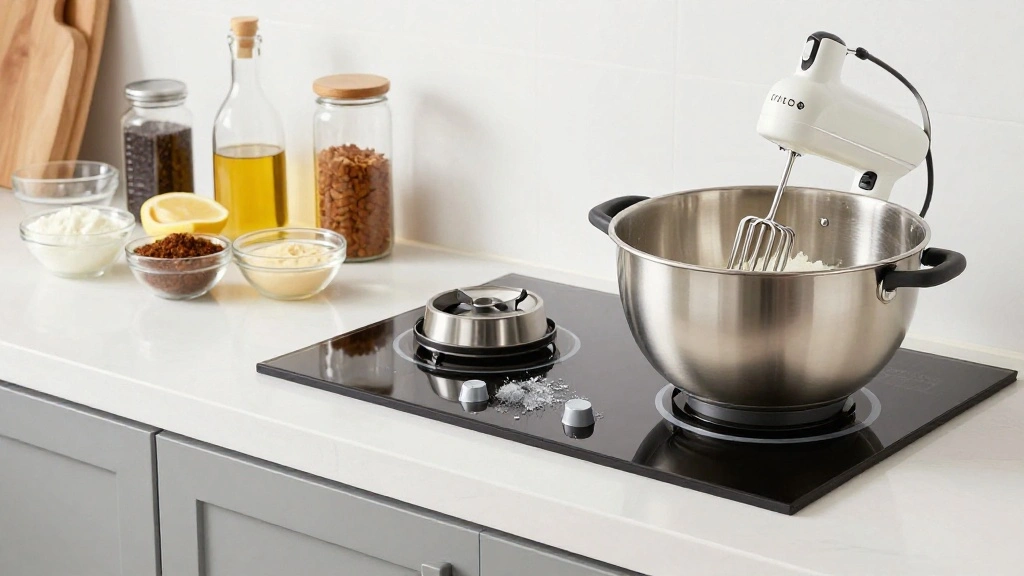
Mixing Bowl: A large, sturdy mixing bowl is essential for combining ingredients evenly and effectively. Look for one with a non-slip base to prevent spills.
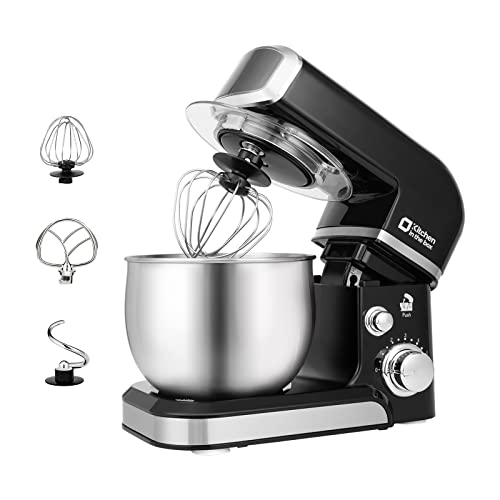
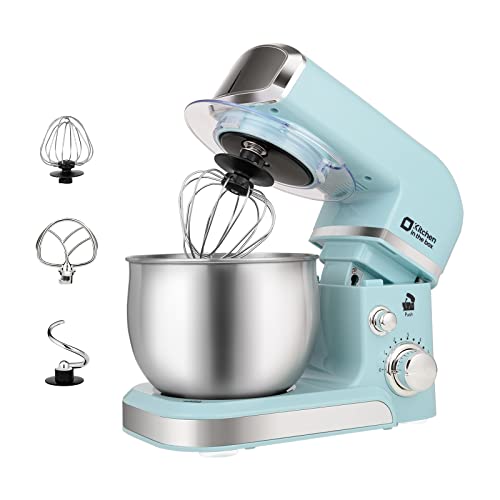
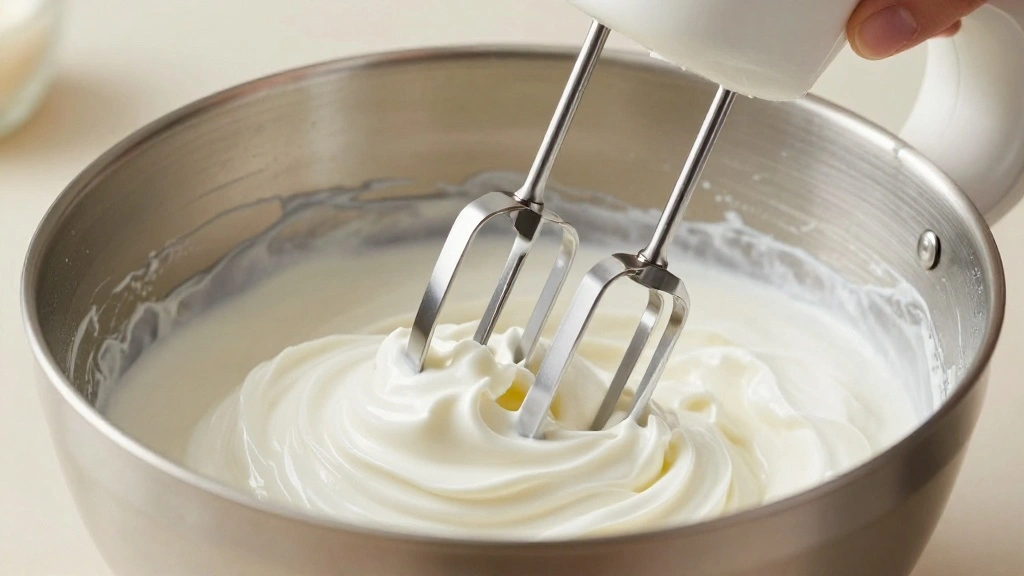
Hand Mixer: This tool is crucial for whipping cream to the right consistency. A stand mixer or a simple whisk can be used as alternatives.
Freezer-Safe Container: Choose a container that seals tightly to prevent ice crystals from forming. Glass or metal containers work best for even freezing.

Ingredients
For the Base
|
| Amount | Ingredient | Notes |
|---|---|---|
| 2 cups | heavy cream | whipped to soft peaks |
| 1 can (14 oz) | sweetened condensed milk | adds sweetness and creaminess |
| 1 teaspoon | vanilla extract | for flavor |
Optional Add-Ins
| Amount | Ingredient | Notes |
|---|---|---|
| 1 cup | chocolate chips | for texture |
| 1 cup | strawberries | diced, for a fruity twist |
| 1 tablespoon | liquor | optional, enhances flavor and texture |
Preparation Methods
Whipping Cream: Whip the cream to soft peaks for the right texture. This traps air, making the ice cream light and creamy.
Folding Technique: Gently fold ingredients to combine them without deflating the whipped cream. This preserves the airy texture.
Freezing Method: Proper freezing is crucial. Use a shallow container for faster, more even freezing, preventing ice crystals.
Step 1: Prepare Ingredients
Gather all ingredients and equipment before starting.
Ensure the heavy cream is chilled for best whipping results.
Measure out all add-ins like chocolate chips or fruit.
Set up your work area to have everything within reach.
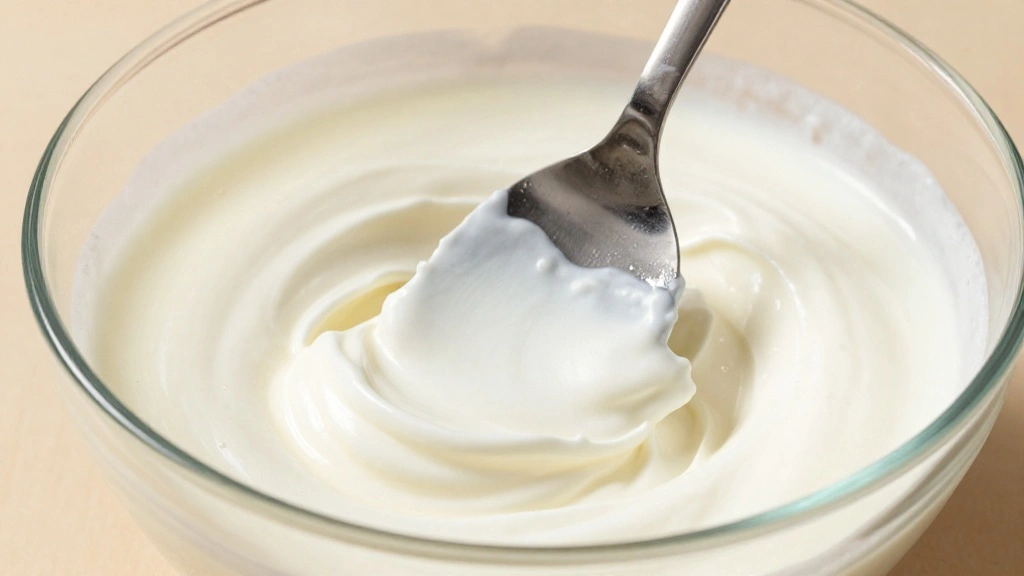
Step 2: Whip the Cream
Pour the chilled heavy cream into a large mixing bowl.
Use a hand mixer to whip the cream on medium speed until soft peaks form.
The cream should hold its shape but still be slightly soft.
Avoid over-whipping, which can turn cream to butter.


Step 3: Mix the Base
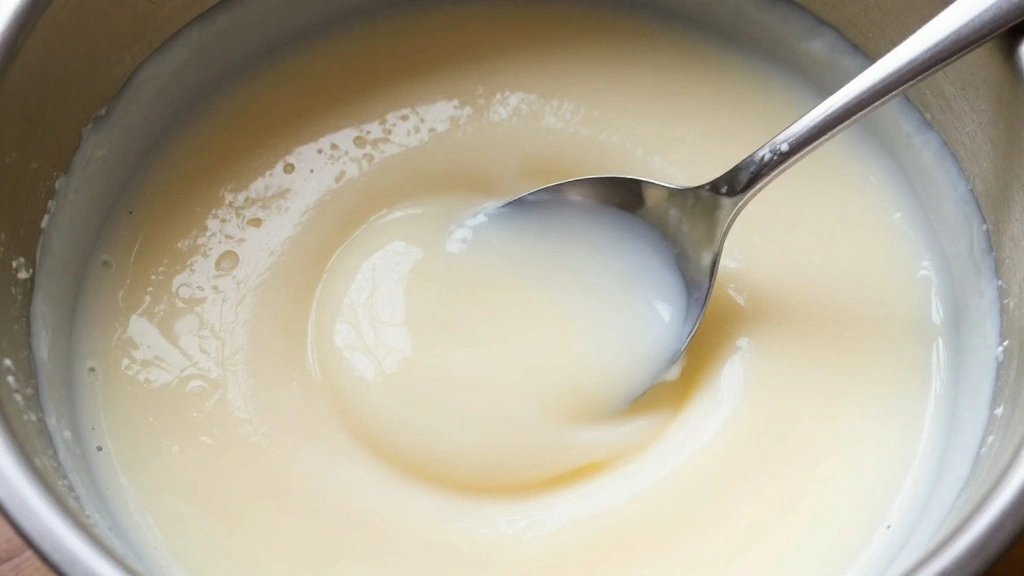
In a separate bowl, combine the sweetened condensed milk and vanilla extract.
Stir together until fully mixed.
The mixture should be smooth and uniform in color.
Ensure no lumps remain for a consistent base.
Step 4: Fold Ingredients
Add a third of the whipped cream to the condensed milk mixture.
Gently fold in using a spatula to lighten the mixture.
Continue folding in the remaining whipped cream in batches.
The final mixture should be light and airy.


Step 5: Add Flavorings
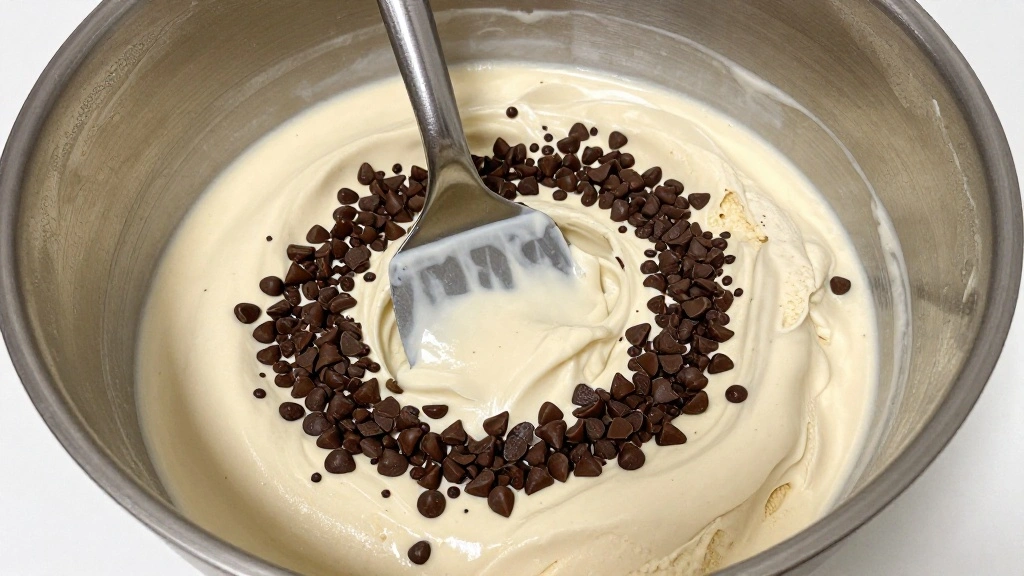
If using, gently fold in your chosen add-ins like chocolate chips or fruit.
Ensure even distribution throughout the mixture.
Avoid over-mixing to maintain the airy texture.
The mixture should be uniform with add-ins visible.
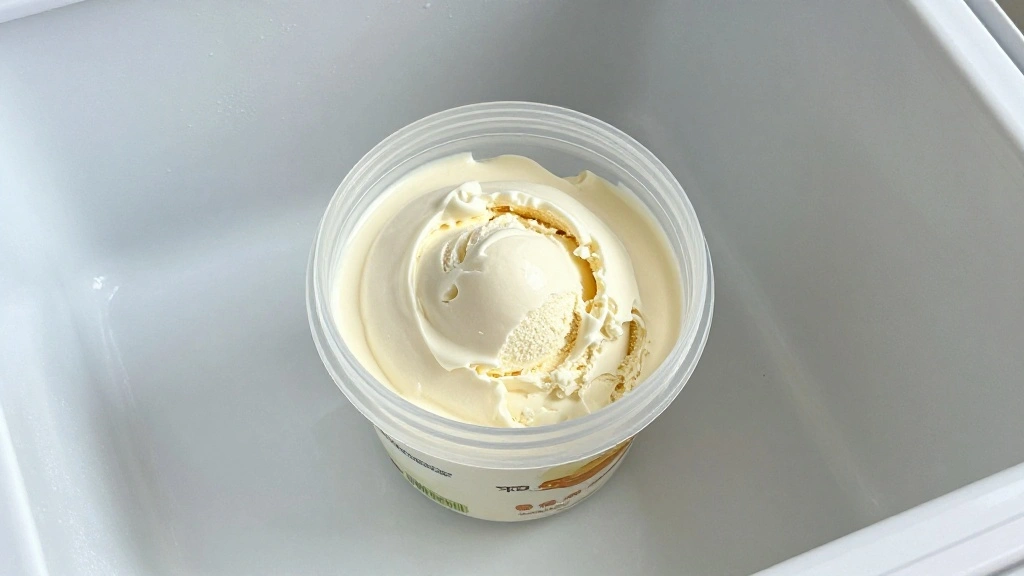
Step 6: Transfer to Container
Pour the ice cream mixture into a freezer-safe container.
Smooth the top with a spatula for an even surface.
Seal tightly to prevent ice crystals from forming.
Label the container with the flavor and date.
Step 7: Freeze the Mixture
Place the sealed container in the coldest part of the freezer.
Allow to freeze for at least 3 hours or until firm.
Check after 2 hours to ensure even freezing.
Avoid opening the freezer frequently to maintain temperature.
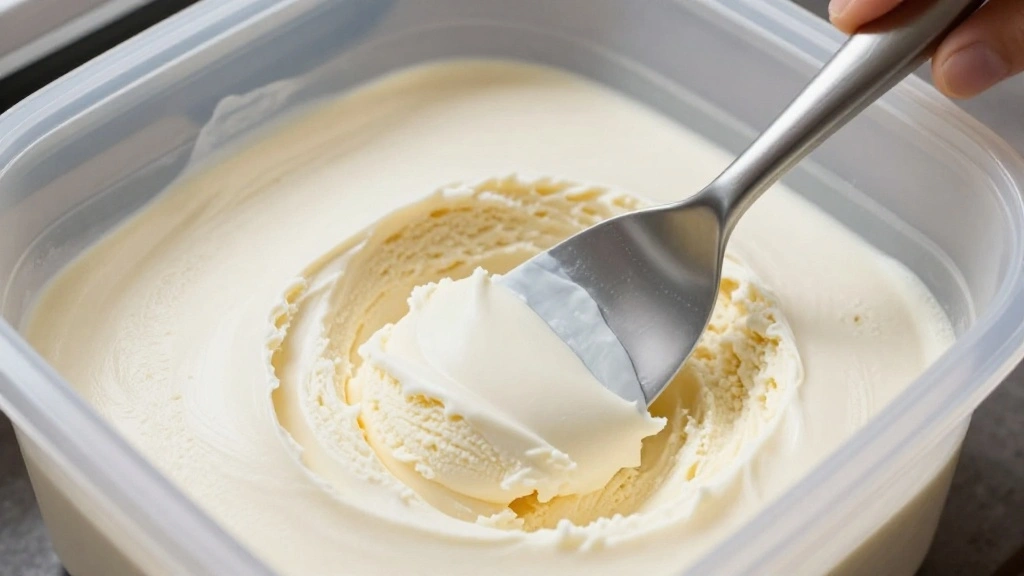
Step 8: Serve and Enjoy
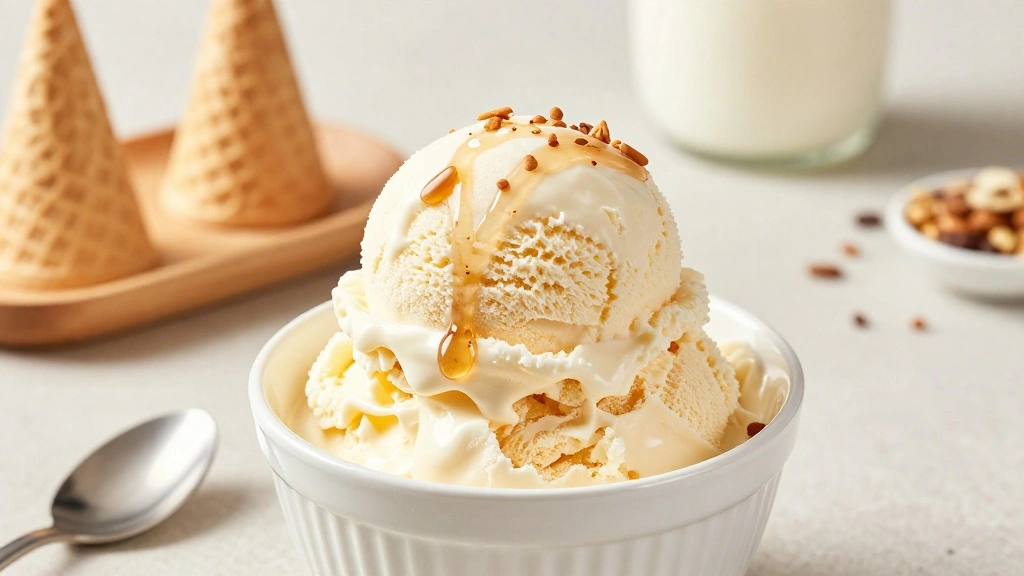
Remove ice cream from the freezer 10 minutes before serving for easy scooping.
Use a warm scoop for perfectly shaped servings.
Serve in bowls or cones as desired.
Garnish with extra toppings like sprinkles or sauces.
Critical Timing and Temperature Guide
Whipping Cream: Whip cream for about 3-5 minutes until soft peaks form. Over-whipping can cause the cream to become grainy and turn to butter.
Freezing: Freeze the mixture for 3-4 hours. The ice cream should be firm but scoopable. Avoid frequent opening to keep the temperature consistent.
Serving Temperature: Allow ice cream to sit at room temperature for 5-10 minutes before serving to achieve the perfect scooping texture.
Pro Tips for Ice Cream Recipe
• Ingredient Selection: Use high-quality heavy cream for a rich texture. Opt for pure vanilla extract instead of imitation for better flavor.
• Preparation Secret: Adding a splash of alcohol not only enhances flavor but also improves texture by lowering the freezing point.
• Temperature Management: Ensure cream is cold before whipping; this helps achieve the right consistency more quickly.
• Texture Enhancement: Folding the whipped cream gently preserves the airiness, resulting in a creamier ice cream.
• Flavor Layering: Consider adding a pinch of salt to enhance the sweetness and depth of the vanilla flavor.
• Make-Ahead Strategies: Prepare the base up to a day in advance and store in the fridge, then whip and freeze for a faster process.
• Restaurant-Quality Finishing Touches: Serve with a drizzle of homemade chocolate sauce or a sprinkle of sea salt for an elevated experience.
• Equipment Optimization: Use a metal mixing bowl for whipping cream as it helps keep the cream cold, reducing whipping time.


Troubleshooting Common Issues
• Texture Too Dense: If the ice cream is too dense, it may be due to over-mixing or insufficient air incorporation. Ensure gentle folding and proper whipping.
• Ice Crystals Forming: If ice crystals develop, it might be from inadequate sealing. Always use airtight containers and avoid opening the freezer frequently.
• Flavor Too Mild: If flavors are too subtle, it could be due to low-quality vanilla or unbalanced ingredients. Use pure extracts and taste the base before freezing.
• Difficulty Scooping: If the ice cream is too hard, it may need to sit at room temperature longer before serving. Consider adding a bit of alcohol to soften the texture.
• Overly Sweet: An overly sweet result might come from excessive condensed milk. Adjust ingredients to taste before freezing.
• Not Freezing Properly: If the ice cream isn't freezing correctly, check the freezer temperature. It should be set to the coldest setting for best results.
Variations and Regional Differences
• Italian Gelato: Gelato uses more milk and less cream, resulting in a denser texture. Often churned slowly, it allows for a more intense flavor profile.
• French Style: Known as 'crème anglaise', this version includes egg yolks for a custard-like consistency. It's cooked before freezing for a rich flavor.
• Japanese Mochi Ice Cream: Small balls of ice cream are wrapped in sweet, chewy mochi dough. This version often features unique flavors like green tea.
• Indian Kulfi: A dense, frozen dessert made by simmering milk and sugar with traditional flavors like cardamom and pistachio, often served on sticks.


Food Science Behind the Recipe
• Emulsification: The process of whipping cream incorporates air, creating a stable foam that contributes to the ice cream's creamy texture.
• Freezing Point Depression: Adding sugar and alcohol lowers the freezing point, preventing large ice crystals and keeping the ice cream soft.
• Gelation: Stabilizers like condensed milk help maintain structure and prevent separation, ensuring a smooth texture.
Frequently Asked Questions
What's the most common mistake people make when preparing ice cream? The most common mistake is over-whipping the cream, which can lead to a dense texture. It's important to stop at soft peaks.
Can I use low-fat cream for this recipe? While you can use low-fat cream, the texture will be less rich and creamy. Full-fat cream yields the best results.
How can I add flavor variations? You can add extracts, fruit purees, or mix-ins like chocolate chips to customize flavors. Be mindful of adding too much liquid, which can alter the texture.
Why is my ice cream forming ice crystals? This is usually due to air exposure. Ensure your container is airtight and freeze quickly.
Can I double the recipe? Yes, you can double or even triple the recipe, but make sure you have enough freezer space and mixing capacity.
How long does homemade ice cream last? For best quality, consume homemade ice cream within two weeks to avoid ice crystal formation and flavor degradation.
Is it necessary to use vanilla extract? While it's not mandatory, vanilla extract adds depth to the flavor and complements other ingredients.
Serving and Presentation Guide
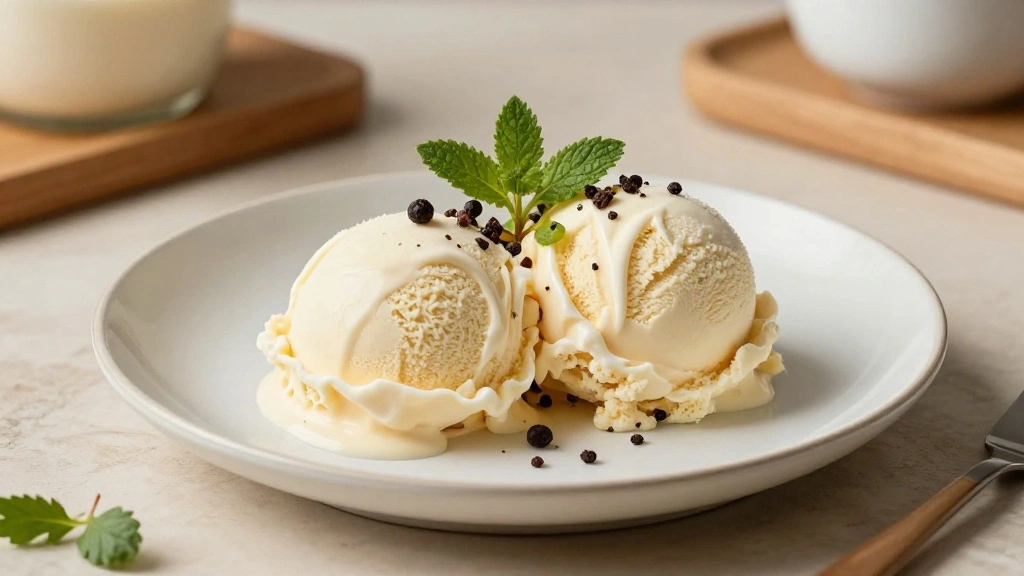
• Traditional Presentation: Serve ice cream in a classic scoop shape in a bowl or cone, garnished with fresh fruit or a mint sprig.
• Modern Twist: Present in small mason jars for individual servings. Top with a layer of crushed cookies or nuts for texture.
• Gourmet Style: Plate with a drizzle of homemade sauce, like caramel or chocolate, and a sprinkle of sea salt for a sophisticated touch.
• Kid-Friendly: Offer in colorful cups with a variety of toppings like sprinkles, chocolate chips, and whipped cream for a fun and interactive treat.
Conclusion
With this simple no-churn ice cream recipe, you can enjoy creamy, homemade ice cream without any special equipment.
The versatility of flavors allows you to get creative and cater to your personal taste preferences.
Try this recipe and impress your friends and family with your culinary skills.
Once you experience the joy of homemade ice cream, you'll never want to go back to store-bought again.