


There’s something undeniably nostalgic about a thick and creamy milkshake, reminiscent of classic diners from a bygone era.
The rich texture combined with the cold sweetness makes it a favorite treat for both young and old.
I remember my first diner milkshake experience—sipping through a straw, marveling at its perfect consistency.
Whether it’s a summer afternoon or a cozy winter night, a milkshake always hits the spot.
This classic diner-style milkshake recipe promises to deliver that authentic, satisfying experience in the comfort of your home.
The History and Cultural Significance
• Thick and Creamy traces its origins to the early 20th century in American diners, where it was originally created by soda jerks using simple ingredients.
• The dish evolved over decades as refrigeration improved and new flavors were introduced, eventually becoming the beloved version we know today.
• In American culture, this dish traditionally appears at family gatherings and casual outings, symbolizing comfort and indulgence.
• While many variations exist across different regions, the authentic version maintains a thick, creamy texture that sets it apart from imitations.
Recipe Overview
Nutritional Information (per serving)
Essential Equipment Guide
Blender: A high-speed blender is crucial for achieving the smooth, creamy texture of a classic milkshake. While other blending tools may work, a powerful blender ensures proper consistency.
Ice Cream Scoop: This tool helps in portioning the ice cream accurately, which is important for balancing flavors and achieving the right thickness.
Measuring Cups: Precision is key in any recipe, and using measuring cups ensures that your ratios of ice cream to milk are just right for the ideal consistency.


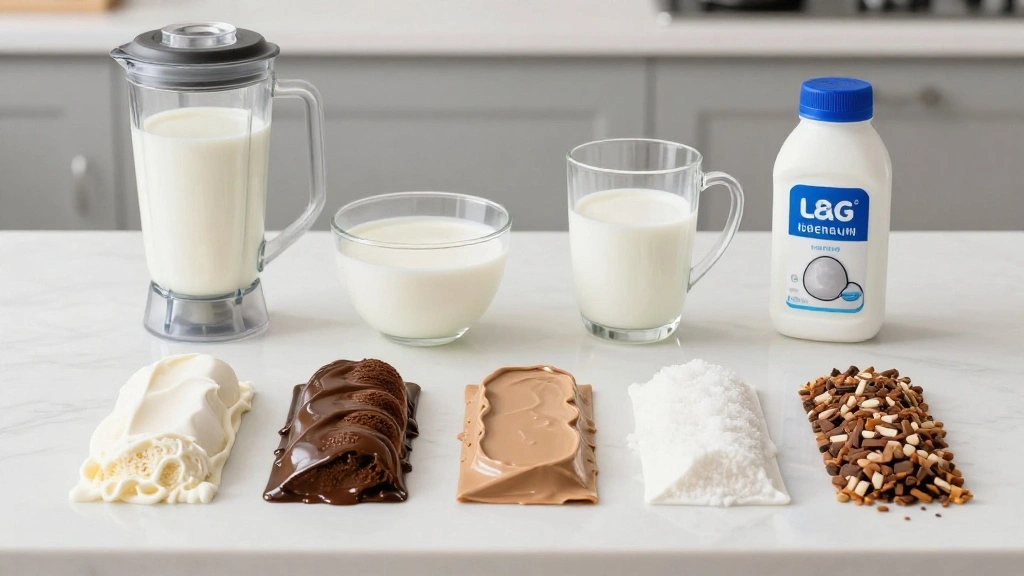
Ingredients
For the Base
|
| Amount | Ingredient | Notes |
|---|---|---|
| 3 cups | vanilla ice cream | rich and creamy |
| 1 cup | whole milk | adds creaminess and helps blend |
| 1 tablespoon | sugar | optional, for added sweetness |
Toppings
| Amount | Ingredient | Notes |
|---|---|---|
| 1 cup | whipped cream | for garnish |
| 2 tablespoons | chocolate syrup | for drizzle |
| 2 tablespoons | rainbow sprinkles | for a fun touch |
Preparation Methods
Blending Technique: Proper blending is key to achieving a smooth and creamy milkshake. Start slow and gradually increase speed to avoid a grainy texture.
Temperature Control: Ensure your ice cream is slightly softened for easier blending, which helps in achieving the right consistency without over-melting.
Layering Flavors: Add any flavorings or syrups in the middle of blending to ensure even distribution throughout the milkshake.
Step 1: Prepare Ingredients
Gather all necessary ingredients and equipment.
Ensure the ice cream is slightly softened for easier blending.
Measure milk and set aside sugar if using.
Prepare toppings like whipped cream and sprinkles.
Step 2: Scoop Ice Cream
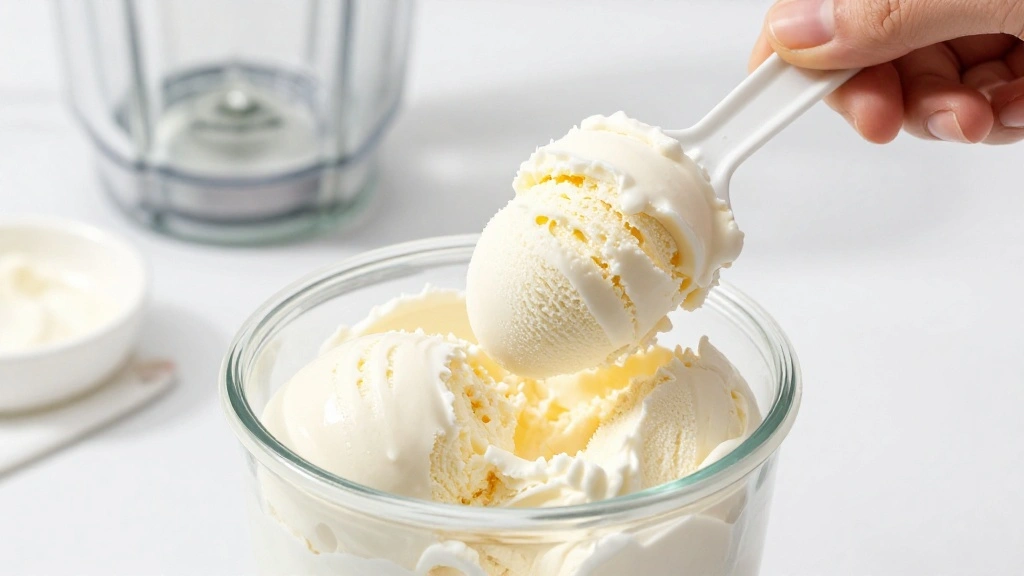
Use the ice cream scoop to measure three cups of vanilla ice cream.
Place the scoops directly into the blender.
Ensure the ice cream is evenly distributed in the blender jar.
This will help in achieving a smooth consistency.
Step 3: Add Milk
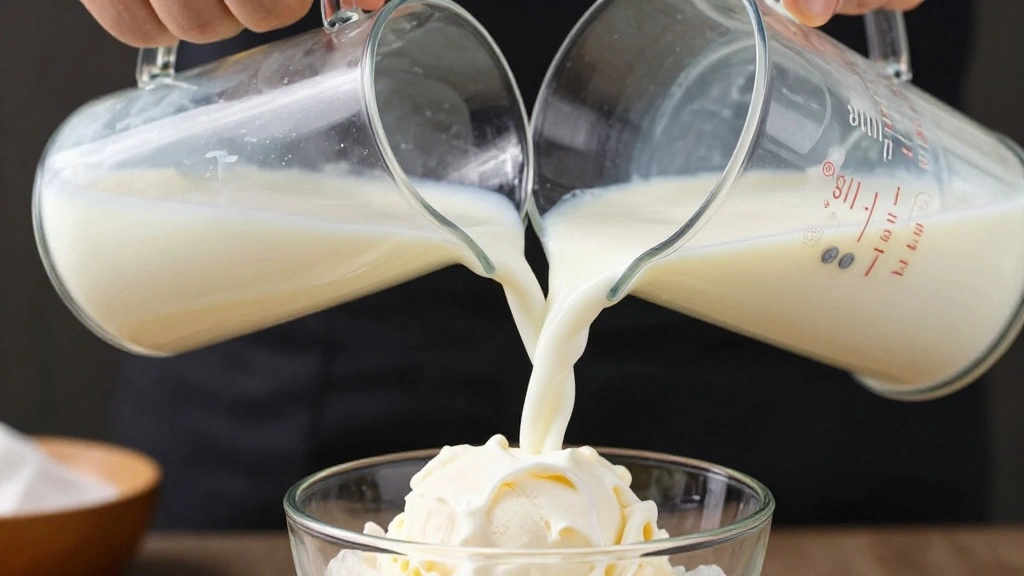
Measure one cup of whole milk using a measuring cup.
Pour the milk over the ice cream in the blender.
Make sure the milk covers the ice cream evenly.
This combination creates the base of your milkshake.
Step 4: Add Sugar
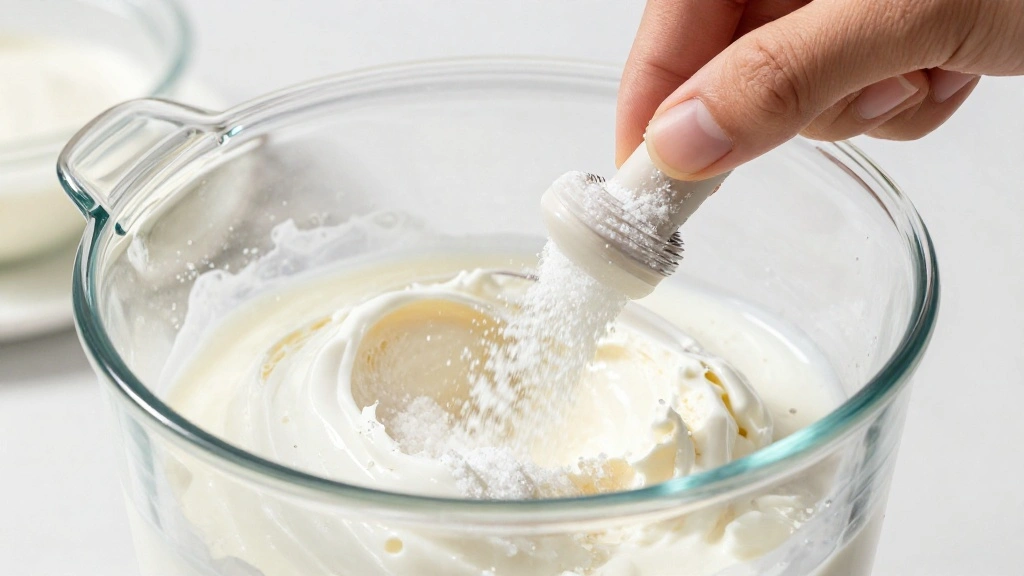
If you desire extra sweetness, add one tablespoon of sugar.
Sprinkle it evenly over the ice cream and milk.
This step is optional based on your sweetness preference.
The sugar will dissolve during blending, enhancing flavor.
Step 5: Blend Ingredients
Start the blender on a low speed.
Gradually increase to high speed until the mixture is smooth.
Blend for about 30 seconds to 1 minute.
The mixture should be thick and creamy without lumps.
Step 6: Check Consistency
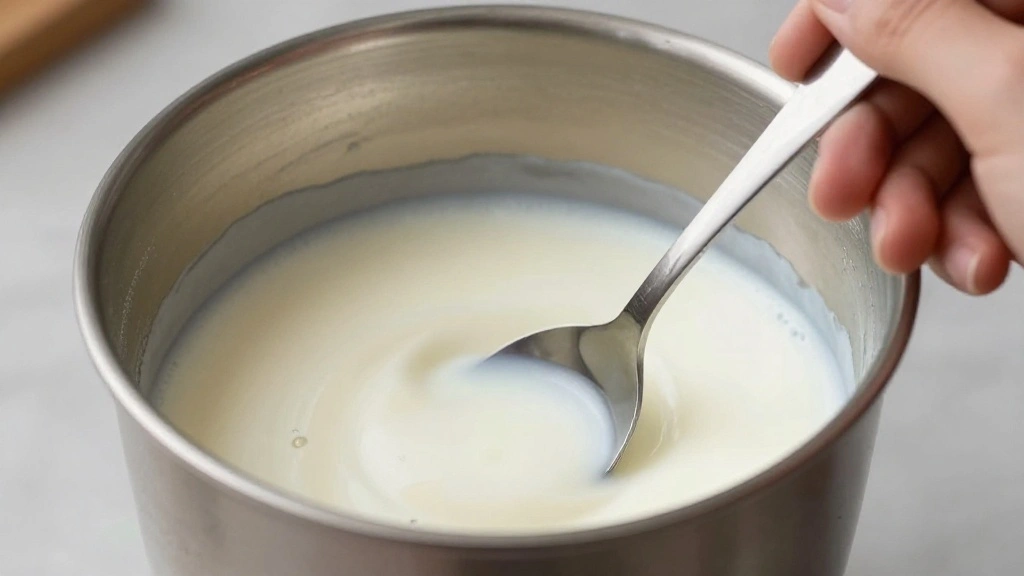
Pause the blender to check the milkshake's consistency.
It should be thick but pourable.
If too thick, add a splash more milk and blend again.
If too thin, add a bit more ice cream and blend again.
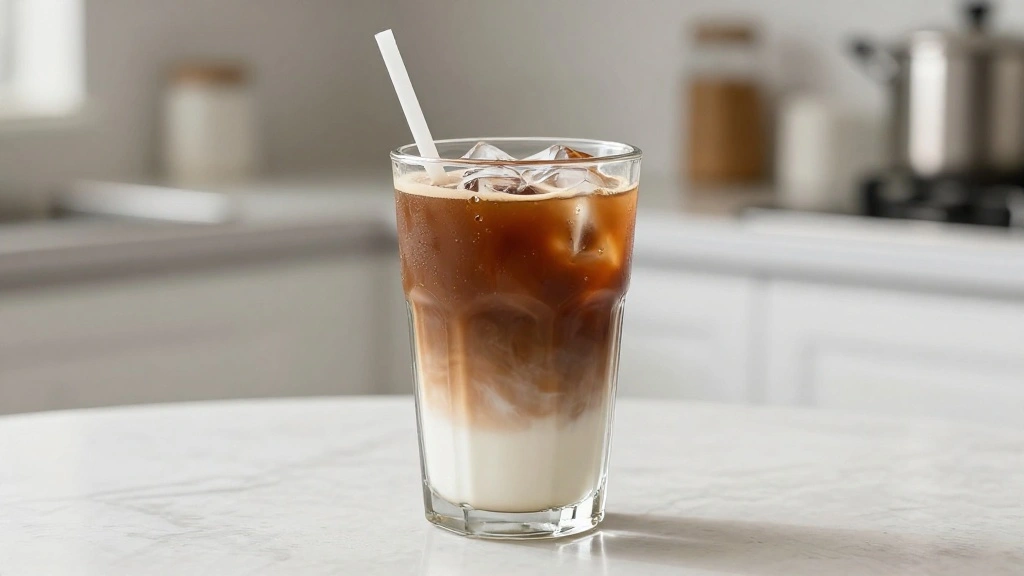
Step 7: Pour and Garnish
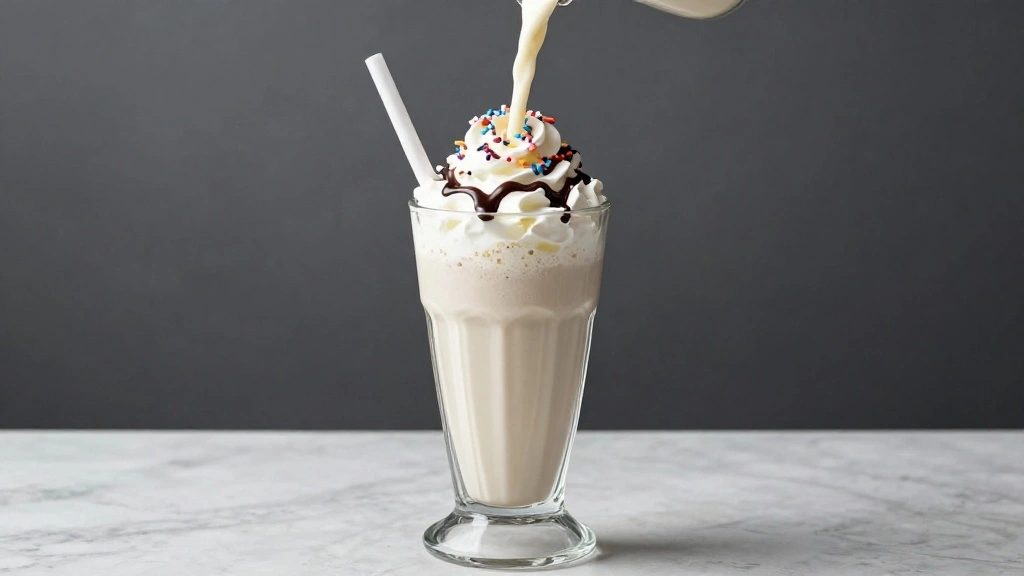
Pour the milkshake into tall glasses.
Top with whipped cream, chocolate syrup, and sprinkles.
The garnishes add visual appeal and extra flavor.
Serve immediately with a straw for best enjoyment.
Step 8: Serve
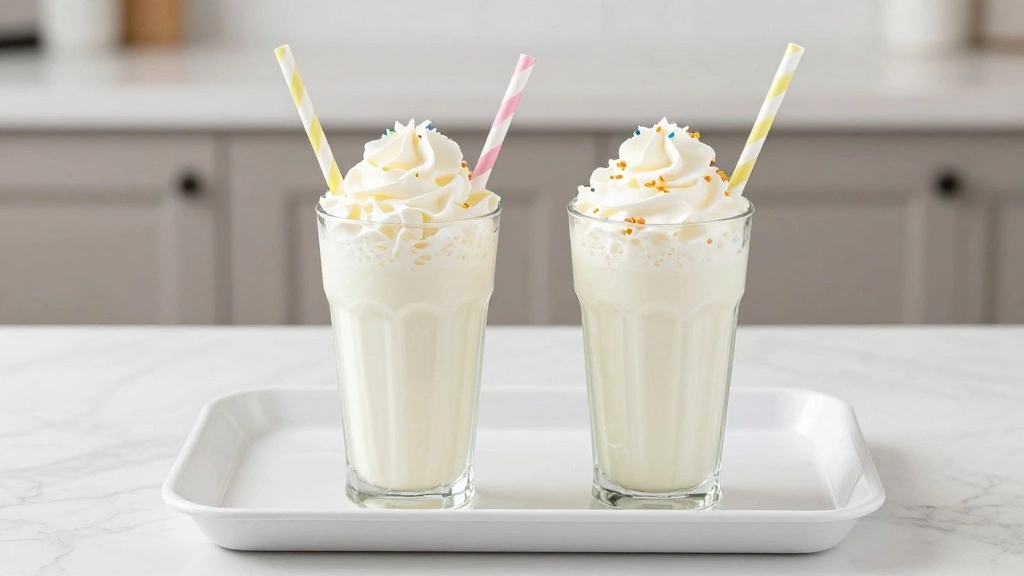
Place the milkshakes on a serving tray.
Ensure each glass has a straw for sipping.
Serve while cold to preserve texture and flavor.
Enjoy the classic diner-style experience with friends or family.
Critical Timing and Temperature Guide
Blending Time: Blend for 30 seconds to 1 minute. Ensure the shake is smooth and lump-free. Over-blending can lead to a runny consistency.
Ice Cream Temperature: Slightly soften ice cream at room temperature for 5-10 minutes. Avoid letting it melt completely, which can dilute flavors.
Serving Temperature: Serve immediately after blending. Cold temperatures maintain the milkshake's thick consistency and refreshing quality.
Pro Tips for Thick and Creamy
• Ingredient Selection: Use high-quality vanilla ice cream for the best flavor and texture. The creaminess of the ice cream is crucial.
• Preparation Secret: Briefly freeze the glasses before serving to keep the milkshake cold longer.
• Temperature Management: Ensure ice cream is not too hard; slightly softened ice cream blends better.
• Texture Enhancement: Blend on high speed in short bursts to achieve the perfect thickness without over-melting.
• Flavor Layering: Add a touch of vanilla extract for an extra depth of flavor.
• Make-Ahead Strategies: Prepare the base a few hours in advance and store in the freezer. Blend again before serving to refresh the texture.
• Restaurant-Quality Finishing Touches: Use a drizzle of chocolate syrup around the inside of the glass for visual appeal.
• Equipment Optimization: Ensure your blender blades are sharp to efficiently blend ice cream and milk.
Troubleshooting Common Issues
• Too Runny: If the milkshake is too runny, add more ice cream and blend again to thicken.
• Too Thick: If the milkshake is too thick, add a small amount of milk and blend until desired consistency is reached.
• Ice Cream Not Blending: Ensure ice cream is slightly softened to blend easily. If still not blending, pause and scrape the sides.
• Lumpy Texture: Blend in short bursts and ensure ingredients are evenly distributed before starting.
• Unbalanced Flavors: Taste before serving. Adjust sweetness with sugar or balance with a pinch of salt if too sweet.


Variations and Regional Differences
• Chocolate Milkshake: Replace vanilla ice cream with chocolate ice cream and add 2 tablespoons of chocolate syrup for a rich chocolate flavor.
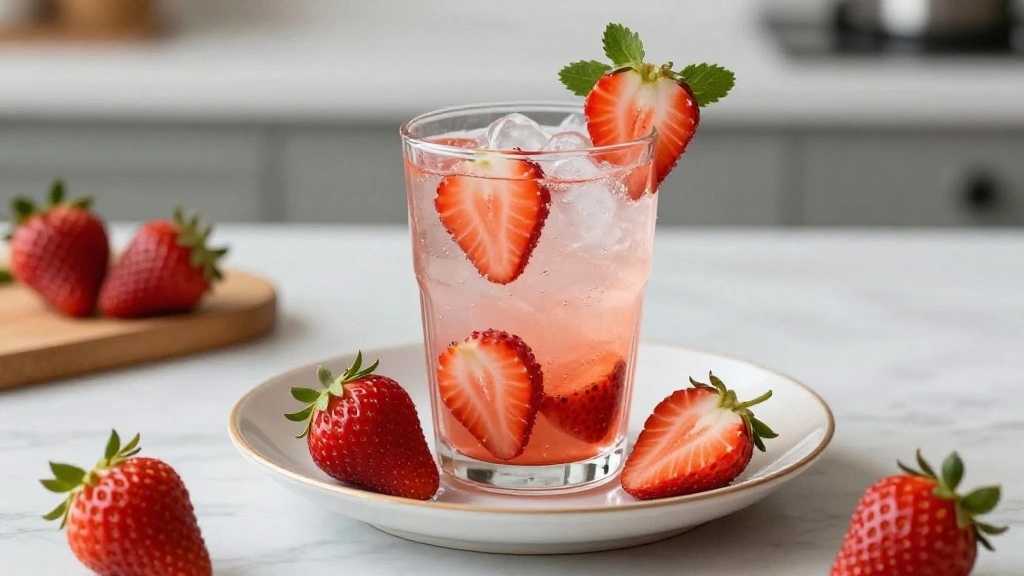
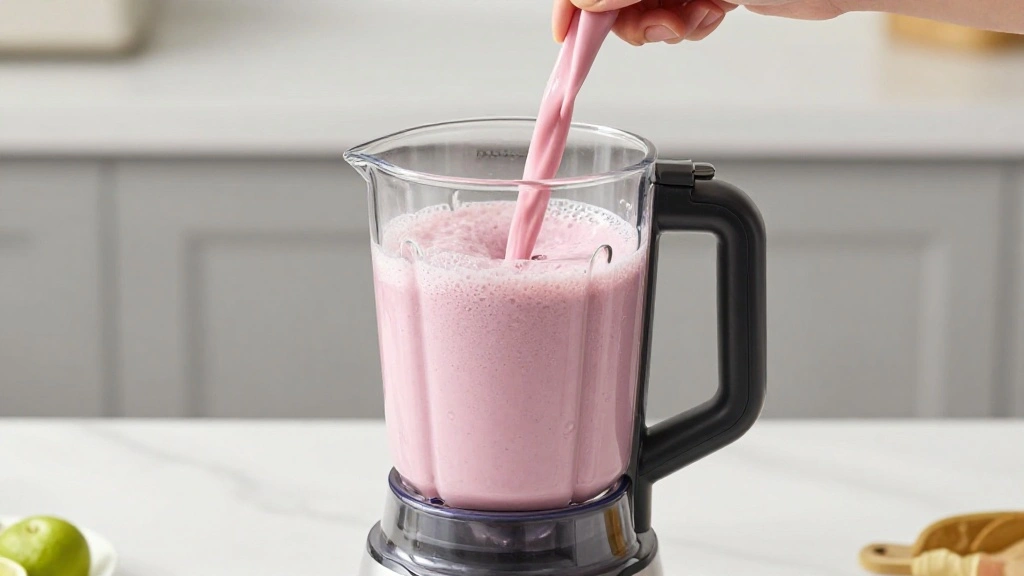
• Strawberry Milkshake: Use fresh strawberries and strawberry ice cream for a fruity twist, blending until smooth.
• Mint Chocolate Chip: Add a few drops of mint extract and blend with chocolate chips for a refreshing variation.
• Peanut Butter: Incorporate 2 tablespoons of creamy peanut butter for a nutty, savory-sweet balance.


Food Science Behind the Recipe
• Emulsification: The blending process emulsifies the fat in ice cream with the liquid milk, creating a smooth, homogenous mixture.
• Temperature's Effect on Texture: The colder the mixture, the thicker it remains, as fats solidify at lower temperatures.
• Air Incorporation: Blending incorporates air into the mixture, creating a lighter, more voluminous milkshake.
Frequently Asked Questions
What's the most common mistake people make when preparing milkshakes? Over-blending, which can result in a runny texture instead of thick and creamy.
Can I use non-dairy milk? Yes, but be mindful of consistency changes as non-dairy options can vary in thickness.
How can I make my milkshake thicker? Add more ice cream and reduce the amount of milk.
What's the best way to soften ice cream quickly? Leave it at room temperature for 5-10 minutes or microwave for a few seconds if in a hurry.
Can I add fruit to my milkshake? Absolutely, but blend thoroughly to ensure a smooth texture.
How do I avoid lumps in my milkshake? Ensure ice cream is evenly distributed in the blender and blend in short bursts.
What are some alternative toppings? Crushed cookies, nuts, or fresh fruit slices can add texture and flavor.
Serving and Presentation Guide
• Traditional Presentation: Serve in a tall, chilled glass with whipped cream and a cherry on top.
• Vintage Vibes: Use a metal milkshake cup for an authentic diner feel.
• Modern Twist: Layer with chocolate or caramel sauce inside the glass before pouring the milkshake.
• Family Style: Serve in small milk bottles with colorful paper straws for a fun, family-friendly presentation.
Conclusion
Now that you have the secrets to making a thick and creamy milkshake, it's time to bring the diner experience home.
This recipe offers both simplicity and nostalgia, perfect for any occasion.
Indulge in this classic treat, and don't be surprised if it becomes a household favorite.