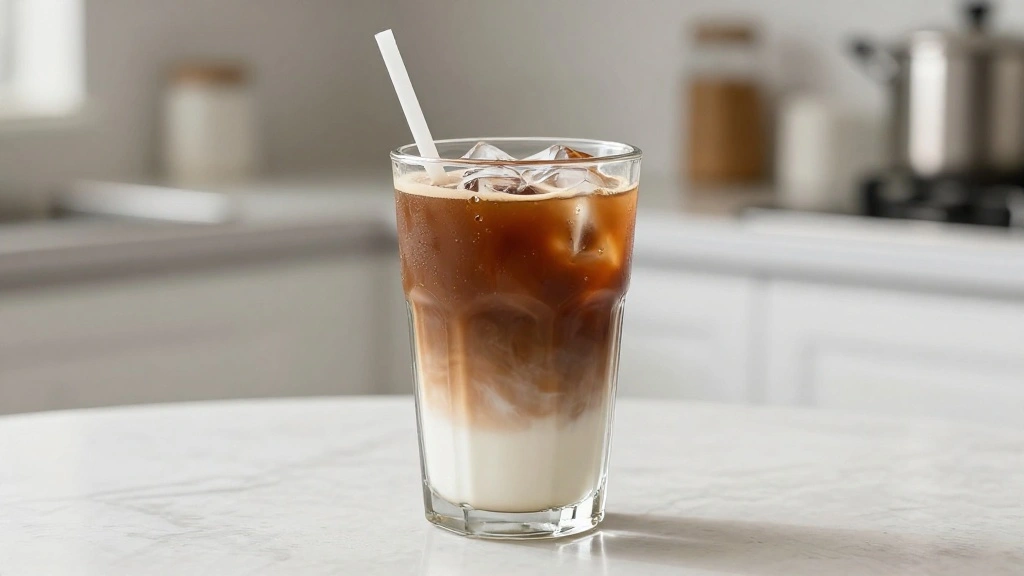


Rich Homemade Hot Chocolate Recipe Warm and Creamy
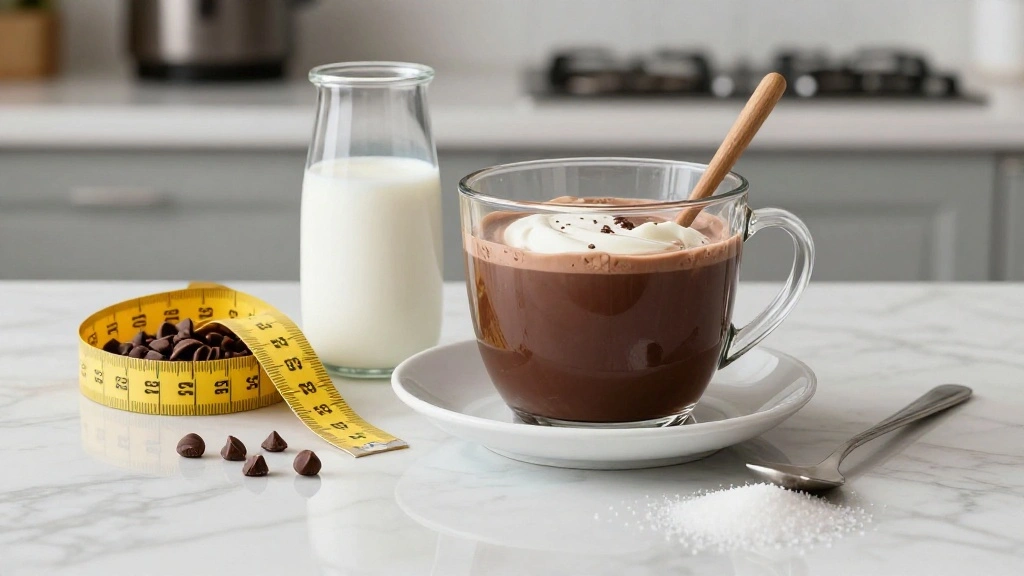
2 cups whole milk
1 cup heavy cream
1 cup dark chocolate chips
2 tablespoons cocoa powder
2 tablespoons sugar
1 teaspoon vanilla extract
1 cup whipped cream
1 tablespoon chocolate shavings
PT15M
4 servings
As the chill of winter sets in, there’s nothing more comforting than wrapping your hands around a steaming mug of homemade hot chocolate.
This rich and creamy beverage offers a symphony of velvety chocolate and subtle sweetness, providing a decadent escape from the cold.
Inspired by cozy nights by the fireplace, this recipe captures the essence of indulgence.
Perfect for holiday gatherings or a quiet evening treat, it promises to warm both body and soul.
With its simple preparation, you can easily recreate this luxurious experience at home.
The History and Cultural Significance
• Rich Homemade Hot Chocolate traces its origins to the Mayan civilization, where it was originally created as a bitter, spicy drink.
• The dish evolved over centuries as sugar and milk were introduced, eventually becoming the beloved version we know today.
• In many European cultures, this dish traditionally appears at festive gatherings, symbolizing warmth and hospitality.
• While many variations exist across different regions, the authentic version maintains a creamy texture and deep chocolate flavor that sets it apart from imitations.
Recipe Overview
Nutritional Information (per serving)
Essential Equipment Guide
Saucepan: A heavy-bottomed saucepan is crucial for even heating and avoiding burnt chocolate. A small to medium size is ideal for making multiple servings.
Whisk: A whisk is essential for incorporating the ingredients smoothly, preventing lumps, and achieving a creamy texture. A balloon whisk works best for aeration.
Measuring Cups and Spoons: Accurate measurements ensure the perfect balance of flavors. Look for sets that include various sizes for precision.


Ingredients
For the Base
| Amount | Ingredient | Notes |
|---|---|---|
| 2 cups | whole milk | adds creaminess |
| 1 cup | heavy cream | enhances richness |
For the Chocolate
| Amount | Ingredient | Notes |
|---|---|---|
| 1 cup | dark chocolate chips | provides depth of flavor |
| 2 tablespoons | cocoa powder | intensifies chocolate taste |
For Sweetness
| Amount | Ingredient | Notes |
|---|---|---|
| 2 tablespoons | sugar | balances bitterness |
| 1 teaspoon | vanilla extract | adds aroma |
For Garnish
| Amount | Ingredient | Notes |
|---|---|---|
| 1 cup | whipped cream | optional, for topping |
| 1 tablespoon | chocolate shavings | optional, for garnish |


Preparation Methods
Melting Chocolate: Gradually melting chocolate over low heat prevents scorching and ensures a smooth mixture. Stir constantly for best results.
Whisking: Consistent whisking is key to incorporating ingredients evenly, creating a smooth, frothy texture. Whisk briskly to combine chocolate and milk thoroughly.
Simmering: Allowing the mixture to simmer helps develop the flavors. Keep the heat low to avoid boiling, which can affect the texture.


Step 1: Prepare Ingredients
Gather all ingredients and ensure they are at room temperature.
Measure out the milk, cream, chocolate chips, cocoa powder, and sugar.
Having ingredients ready will streamline the cooking process.
Prepare the whipped cream and chocolate shavings if using for garnish.
Step 2: Heat Milk and Cream
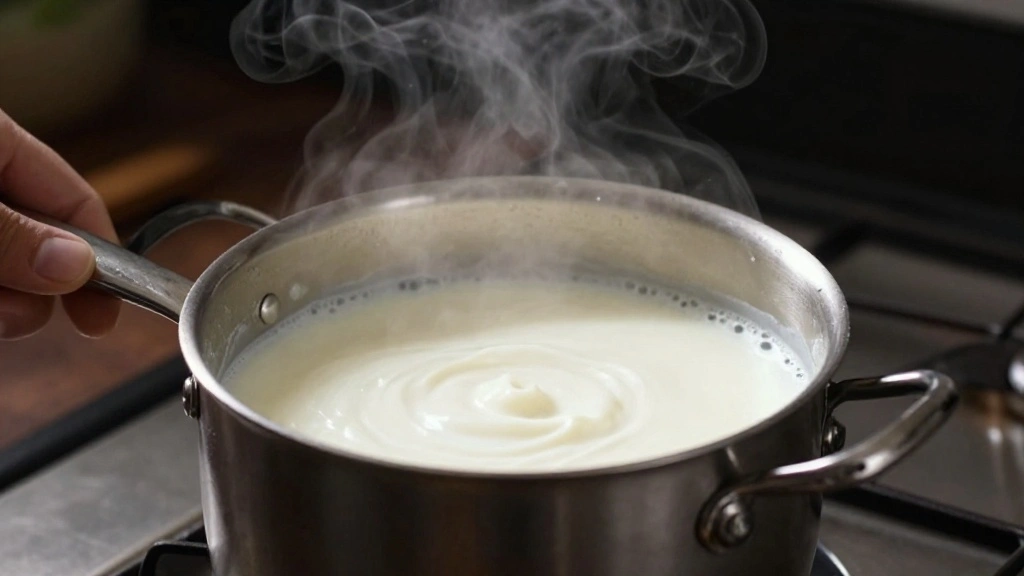
Pour the whole milk and heavy cream into a saucepan.
Place over medium heat and allow it to warm gradually.
Stir occasionally to prevent a skin from forming on the surface.
Heat until small bubbles form around the edges, but do not boil.
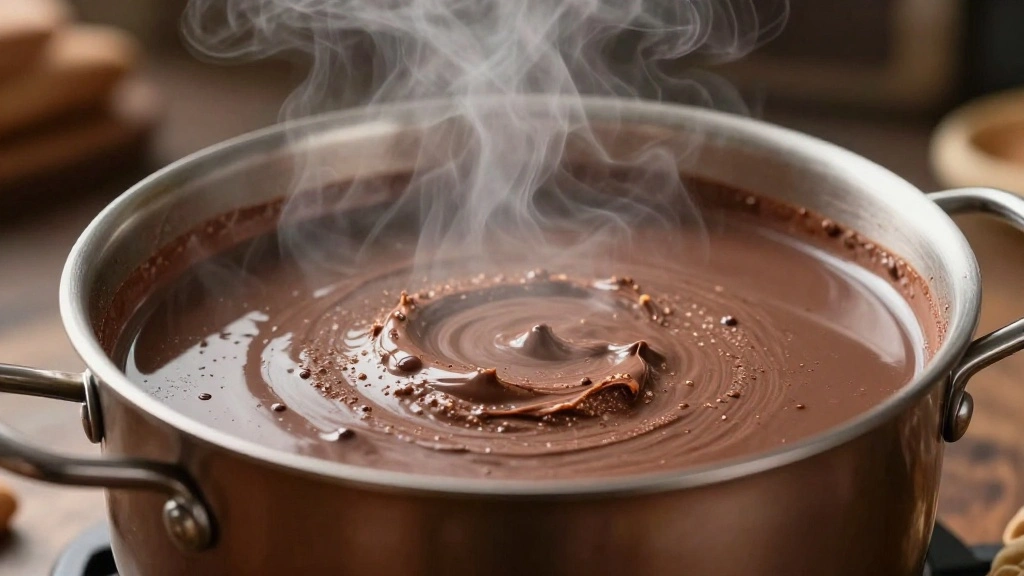
Step 3: Add Chocolate and Cocoa
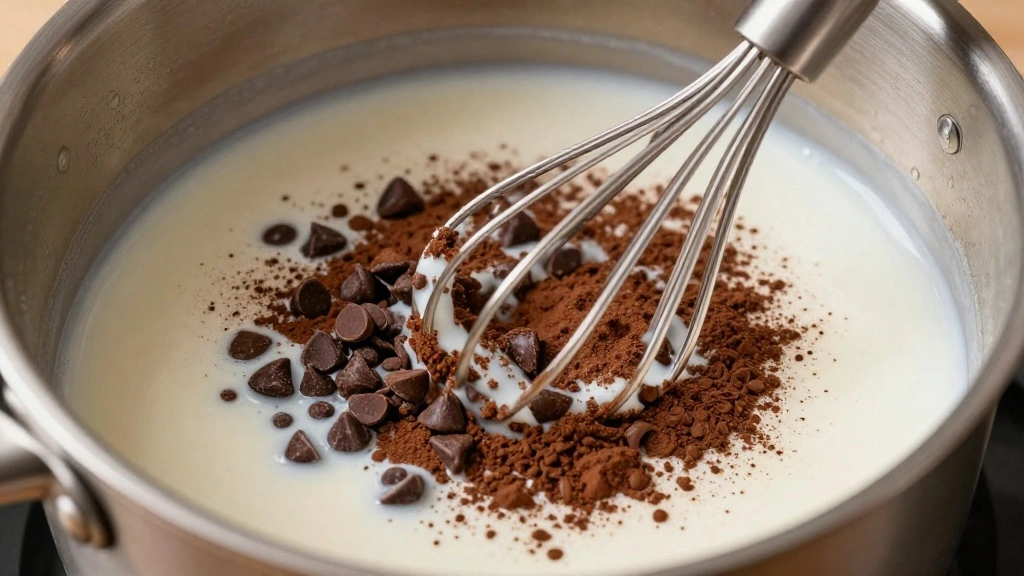
Lower the heat to medium-low and add the dark chocolate chips.
Sprinkle in the cocoa powder while stirring continuously.
The chocolate should begin to melt, turning the mixture a rich brown.
Ensure there are no lumps by whisking thoroughly.
Step 4: Sweeten the Mixture
Add the sugar to the saucepan, whisking to dissolve.
Pour in the vanilla extract for added flavor.
Taste and adjust the sweetness if necessary.
Continue whisking until the sugar is fully incorporated.
Step 5: Simmer and Thicken
Allow the mixture to simmer gently over low heat.
This process will enhance the flavors and slightly thicken the hot chocolate.
Stir occasionally to prevent sticking and ensure an even texture.
Simmer for about 5 minutes, watching for a creamy consistency.
Step 6: Final Whisk and Serve
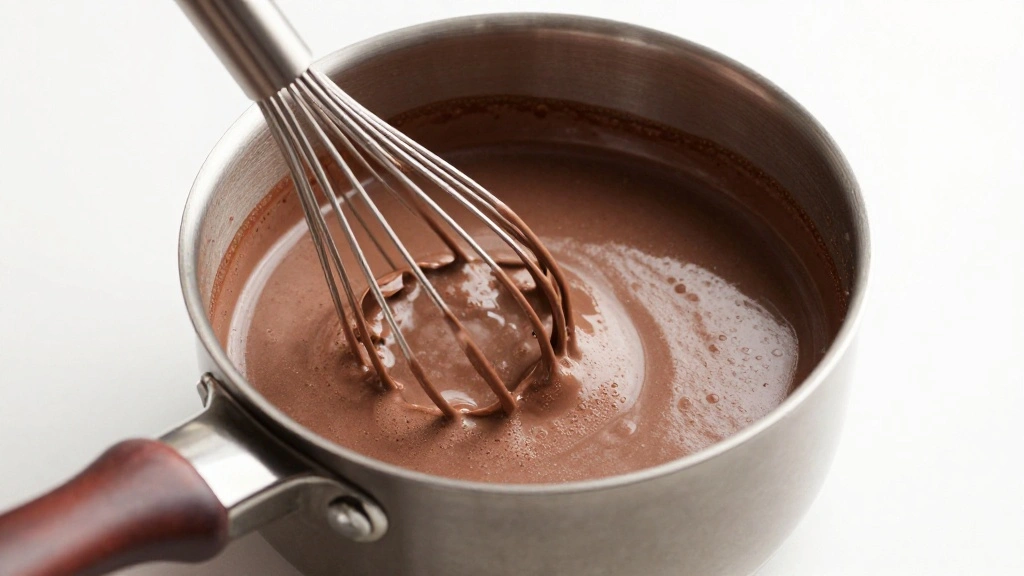
Give the hot chocolate a final brisk whisk to aerate.
This step will create a light, frothy texture.
Check the consistency and adjust the heat as needed.
Pour into mugs, leaving room for garnish.
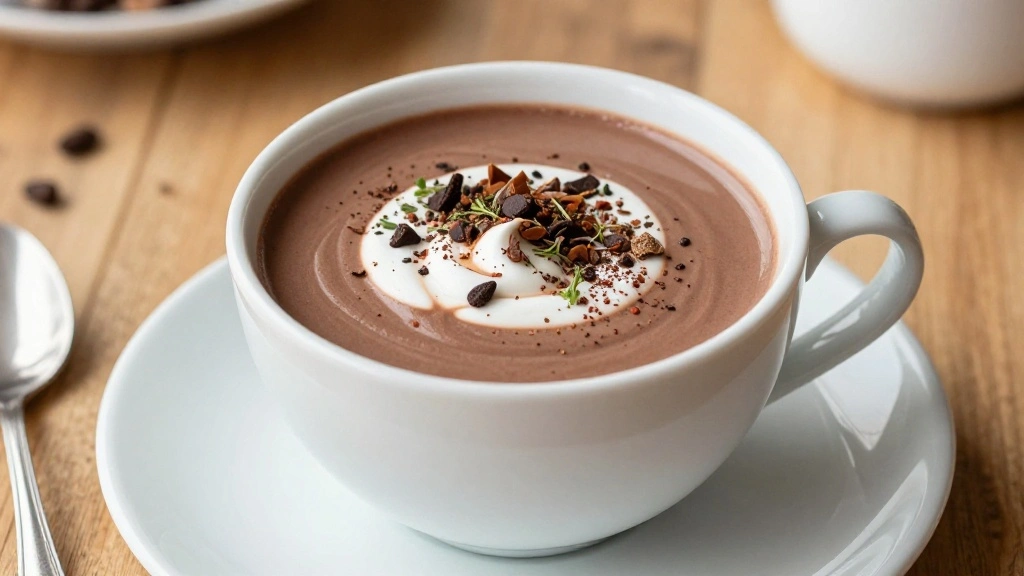
Step 7: Garnish with Whipped Cream
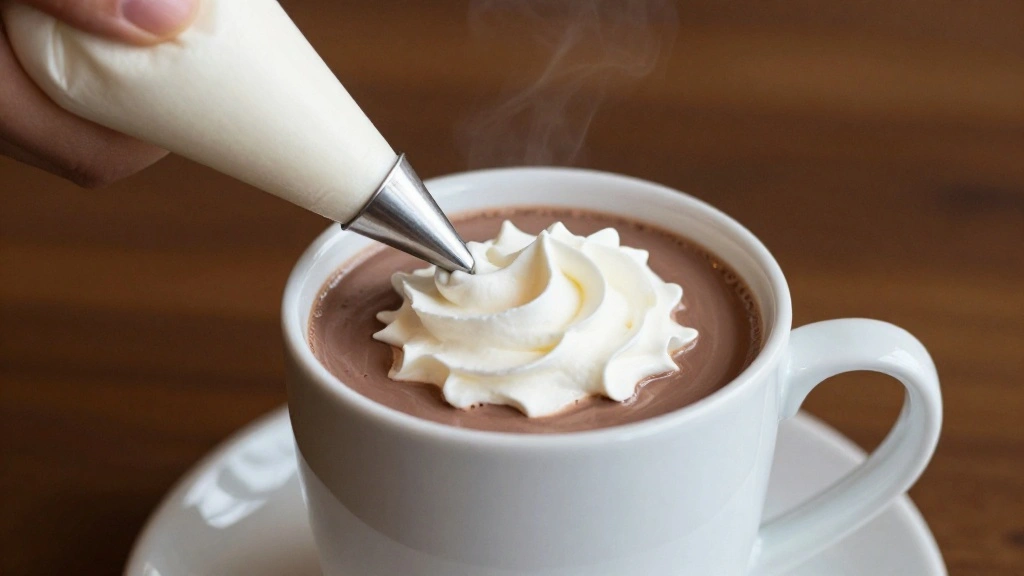
Top each mug with a generous dollop of whipped cream.
The cream will slowly melt into the hot chocolate, adding richness.
For a professional touch, use a piping bag to apply the whipped cream.
Ensure the cream is cold for best results.
Step 8: Add Chocolate Shavings
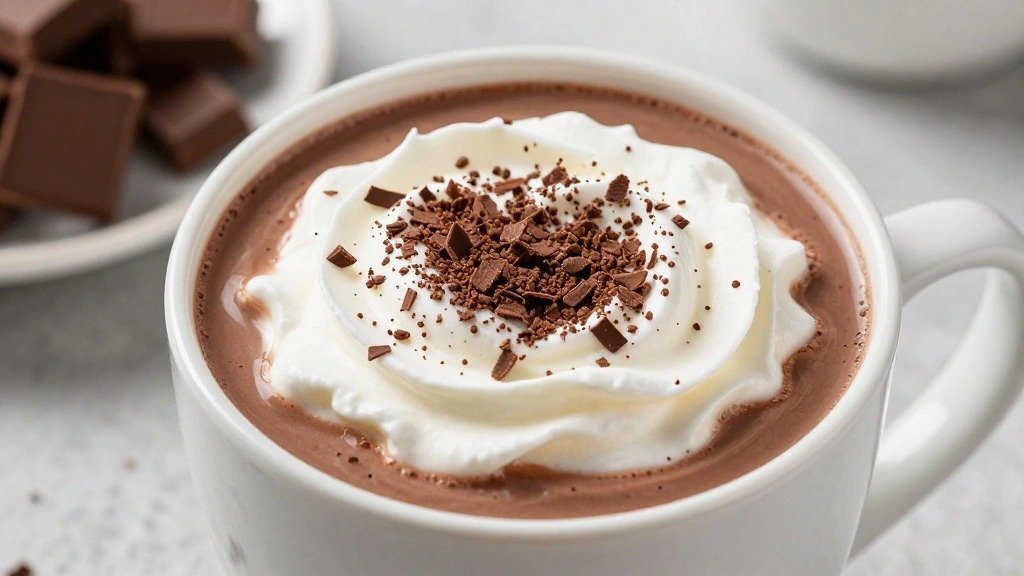
Sprinkle chocolate shavings over the whipped cream.
This adds a decorative and flavorful finish.
Use a vegetable peeler to create curls from a chocolate bar.
Serve immediately while hot.
Critical Timing and Temperature Guide
Heating Milk and Cream: Heat gradually on medium, watching for small bubbles to form without boiling. Avoid high heat to prevent scorching.
Simmering the Mixture: Simmer on low for 5 minutes, stirring occasionally. A gentle simmer develops flavors without overcooking.
Serving Temperature: Serve immediately at a warm temperature, ensuring the drink is hot but not scalding for a cozy experience.
Pro Tips for Rich Homemade Hot Chocolate
• Ingredient Selection: Use high-quality dark chocolate (70% cacao or higher) for a deep, rich flavor.
• Preparation Secret: Melt chocolate chips slowly to prevent graininess and ensure a smooth texture.
• Temperature Management: Maintain a consistent low simmer to avoid separating the fats.
• Texture Enhancement: Whisk vigorously just before serving to create an inviting froth.
• Flavor Layering: Incorporate a pinch of salt to enhance the chocolate’s depth and balance sweetness.
• Make-Ahead Strategies: Prepare the base up to two days in advance, storing in the refrigerator and reheating gently.
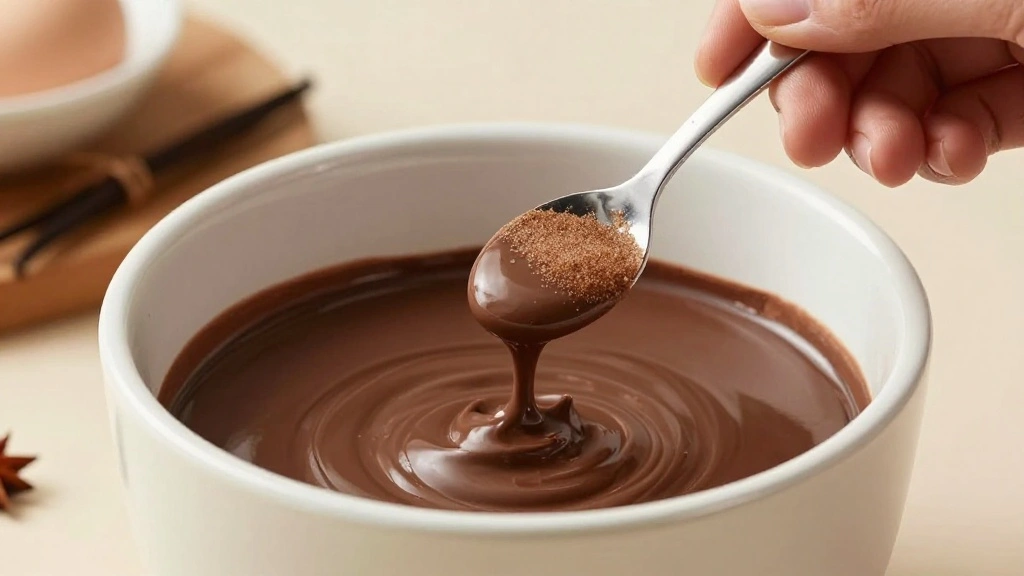
• Restaurant-Quality Finishing Touches: Garnish with a dusting of cocoa powder or cinnamon for added aroma.
• Equipment Optimization: Use a hand frother for extra frothiness if a whisk isn’t achieving desired results.


Troubleshooting Common Issues
• Texture Too Grainy: Caused by overheating the chocolate. Recognize by a sandy texture and fix by whisking in a bit more milk until smooth.
• Flavors Unbalanced: Occurs when sugar or vanilla is too strong. Adjust by adding a pinch of salt or extra cocoa powder.
• Chocolate Not Melting: Often due to milk not being warm enough. Ensure the milk is heated correctly before adding chocolate.
• Mixture Too Thin: Results from insufficient simmering. Allow more time to thicken or add additional cocoa powder.
• Overly Sweet: Reduce sugar or increase cocoa to counteract. Taste frequently during preparation for balance.
Variations and Regional Differences
• Mexican Hot Chocolate: This version includes cinnamon and chili powder for a spicy kick, reflecting its Mesoamerican roots.
• French Chocolat Chaud: Richer and thicker, made with a higher ratio of chocolate to milk, often served in small portions.
• Italian Cioccolata Calda: Similar to pudding, this variation is thickened with cornstarch and served as a dessert drink.
• American Classic: Typically sweeter and lighter, often made with milk chocolate and topped with marshmallows.


Food Science Behind the Recipe
• Emulsification: The process of combining fat (from chocolate and cream) and water (from milk) into a smooth mixture is key for texture.
• Maillard Reaction: The browning of milk proteins enhances flavor during heating, contributing to the complex taste profile.
• Temperature and Viscosity: Managing heat impacts the viscosity of the chocolate, ensuring it remains drinkable and not overly thick.
Frequently Asked Questions
What’s the most common mistake people make when preparing hot chocolate? Overheating the mixture, which can lead to a grainy texture.
How can I make my hot chocolate thicker? Allow it to simmer longer or add a small amount of cornstarch mixed with water.
Can I use non-dairy milk for this recipe? Yes, almond or oat milk are good alternatives, but they may alter the flavor slightly.
What’s the best type of chocolate to use? High-quality dark chocolate with 70% cacao or higher is recommended for richness.
Can I make this recipe sugar-free? Yes, substitute sugar with your preferred sweetener, such as stevia or erythritol.
Why is my hot chocolate separating? This can occur if the heat is too high; ensure a gentle simmer and constant whisking.
How do I store leftovers? Cool completely and store in an airtight container in the fridge for up to 3 days, reheating gently before serving.
Serving and Presentation Guide
• Traditional Presentation: Serve in a ceramic mug with a handle, topped with a swirl of whipped cream and a sprinkle of cocoa powder.
• Modern Minimalist: Use a clear glass mug to showcase the drink’s rich color, garnished with a single chocolate curl.
• Festive Style: Adorn with a cinnamon stick and a candy cane for a holiday twist.
• Gourmet Touch: Pair with a small biscuit or biscotti on the side for an elevated experience.
Conclusion
Embrace the art of making rich homemade hot chocolate and transform your winter evenings into a luxurious experience.
This recipe offers a perfect blend of simplicity and indulgence, allowing you to savor the warmth and comfort of each sip.
Invite loved ones to share in this delightful treat, creating memories that will last a lifetime.